How to Use the 7-Inch HD TFT LCD Satellite Detector
Introduction and Setup
The 7-inch HD TFT LCD satellite detector is an indispensable tool for anyone involved in the installation or maintenance of satellite dishes. This device is engineered to ensure precise alignment of satellite dishes, enhancing signal quality and overall performance. Key features of this satellite detector include a high-definition 7-inch TFT LCD screen, user-friendly interface, and a robust array of ports and connectors.
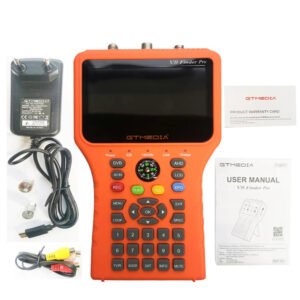
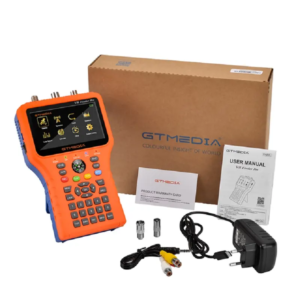
The initial setup of the 7-inch HD TFT LCD satellite detector begins with unboxing the device. Inside the package, you will find the detector itself, a power adapter, various cables, and a user manual. The first step is to charge the device using the provided power adapter. It is recommended to fully charge the detector before its first use to ensure uninterrupted performance.
After charging, power on the device by pressing the designated power button. If prompted, perform any necessary software or firmware updates to ensure the satellite detector operates with the latest features and bug fixes. Regular updates can significantly enhance the functionality and accuracy of the device.
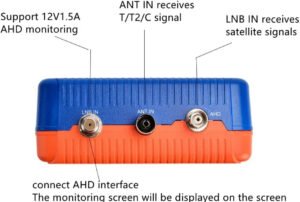
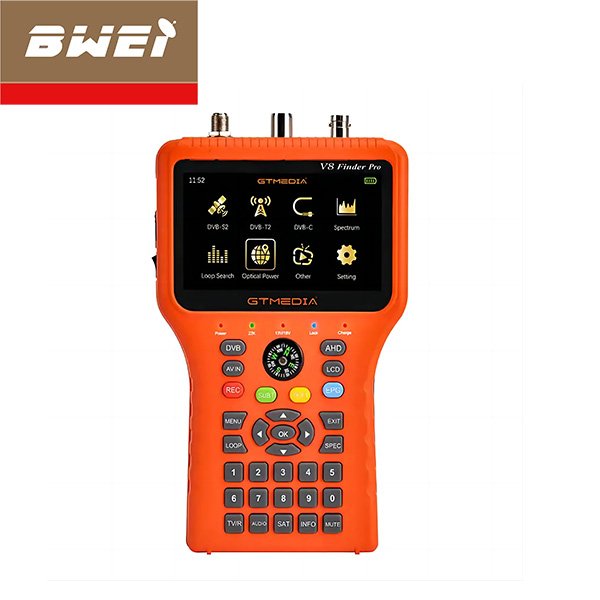
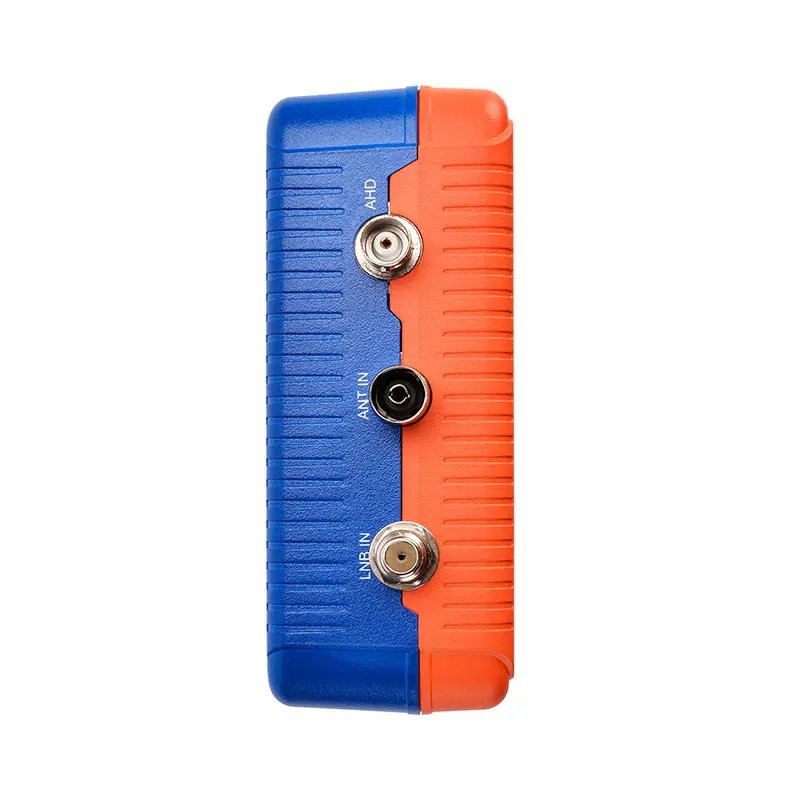
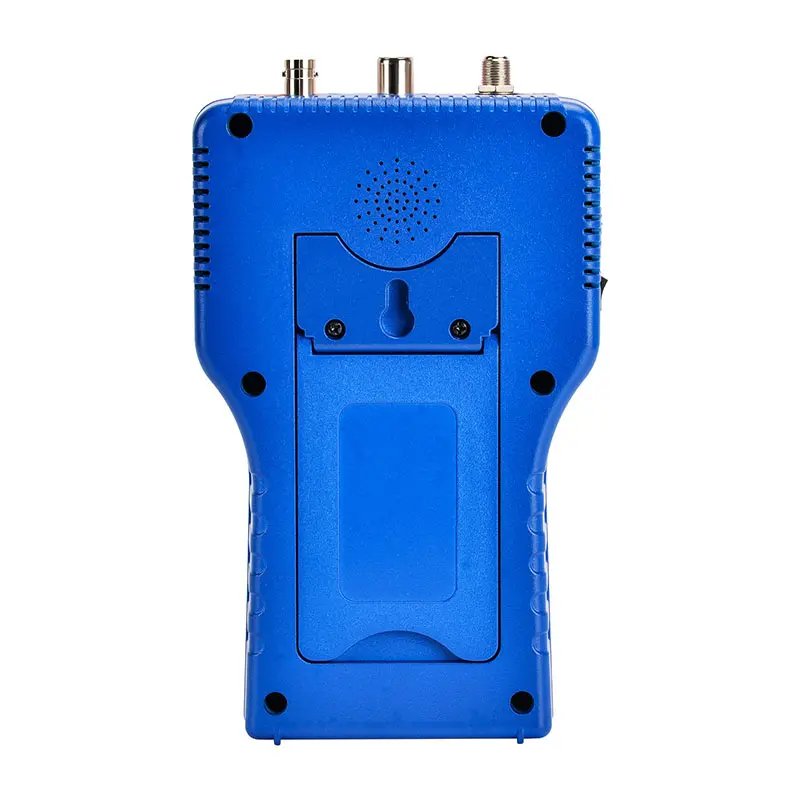
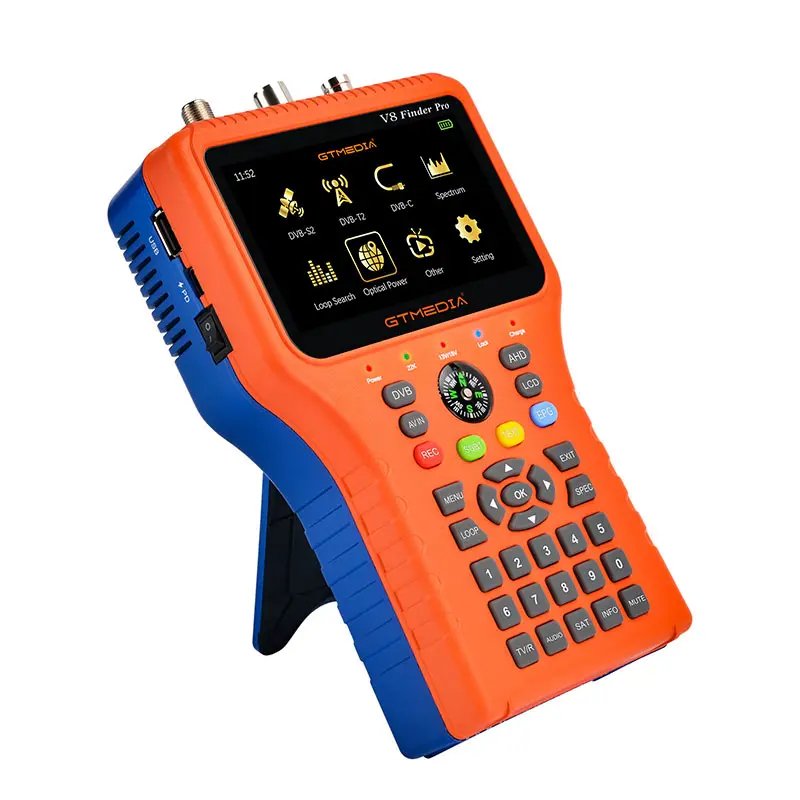
The physical components of the 7-inch HD TFT LCD satellite detector include the high-definition screen, navigation buttons, a power button, and multiple ports for connectivity. These ports typically include an RF input for connecting the satellite dish, USB ports for updates and data transfer, and a power port. The device may also come with additional accessories such as a carrying case or a stand for hands-free operation.
To connect the detector to a satellite dish, start by attaching the RF cable from the dish to the RF input port on the detector. Ensure that all connections are secure to avoid signal loss. The device should automatically detect the connected satellite dish. If it does not, double-check the cable connections and try again.
Common setup issues can include power problems or connection errors. If the device does not power on, verify that the power adapter is properly connected and that the outlet is functioning. For connection errors, ensure that the cables are correctly inserted and that the satellite dish is properly aligned to receive a signal.
By following these steps, you can efficiently set up your 7-inch HD TFT LCD satellite detector, ensuring it is ready for precise satellite dish alignment.
Using the Satellite Detector for Alignment
Accurate satellite dish alignment is crucial for optimal signal reception, ensuring you receive the best possible quality from your satellite service. The 7-Inch HD TFT LCD Satellite Detector simplifies this process, but it requires a methodical approach for precise alignment.
To begin, turn on the satellite detector by pressing the power button. Once powered on, navigate through the device’s menu system using the directional buttons. Select the appropriate satellite from the list provided, ensuring you choose the correct transponder as well. This step is essential for accurate detection and alignment.
Next, position the satellite dish by slowly adjusting its angle while observing the signal strength and quality readings displayed on the detector’s screen. These readings are typically represented as percentage values or signal bars. Aim to achieve the highest possible signal strength and quality, as this directly impacts the performance of your satellite service.
Fine-tuning the alignment is a critical step. Make small adjustments to the dish’s azimuth (horizontal angle) and elevation (vertical angle) while continuously monitoring the detector’s readings. Patience is key; even minor changes can significantly affect the signal. Once you have achieved the optimal signal strength and quality, lock the satellite dish in place by tightening the mounting hardware.
After securing the dish, verify the signal stability by observing the readings over a few minutes. Consistent high signal strength and quality indicate successful alignment. If fluctuations occur, recheck the dish’s positioning and make necessary adjustments.
Maintaining the satellite detector and dish alignment is important for long-term performance. Periodically check the alignment and clean any debris from the dish. Additionally, keep the satellite detector’s firmware updated to ensure compatibility with new satellites and transponders.
By following these steps, you can effectively use the 7-Inch HD TFT LCD Satellite Detector to achieve precise satellite dish alignment, ensuring optimal signal reception and a superior viewing experience.
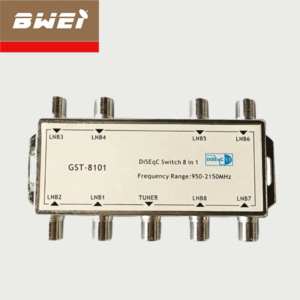
The working frequency is 950 ~ 2150MHz, the gain is 11dB, and the power supply voltage is 13 ~ 18V. It is suitable for horizontal and vertical output of satellite TV receivers.
It has the advantages of accurate positioning, fast satellite finding, high sensitivity, small size, convenient carrying and low price, and can meet the needs of general satellite antenna installers.
Industry-specific attributes
| FTA(Free To Air) | Yes |
| Type | Digital |
| High Definition | Yes |
Other attributes
| Place of Origin | Anhui, China |
| Private Mold | Yes |
| Brand Name | BOWEI |
| Model Number | BT-680 |
| Product name | Freesat 1080P HD GTmedia Satellite Signal Finder Meter |
| Frequency range | 950 – 2150MHz |
| Display | 4.3 Inch High Definition TFT LCD Screen |
| HD | 1080P Output |
| type | digital |
| keyword | satellite signal finder meter |
| Battery | 4000mA |
| FTA(Free to Air) | YES |
| Support1 | both AV out and AV in |
| Support 2 | both HDMI out |
Packaging and delivery
| Selling Units: | Single item |
| Single package size: | 30X23X8 cm |
| Single gross weight: | 3.000 kg |
Lead time
| Quantity (pieces) | 1 – 1000 | > 1000 |
| Lead time (days) | 10 | To be negotiated |
